Another guest post from our brilliant friends at Rough Draft Farmstead today! I also thought I should mention that they have designed an awesome new ferment shirt that you definitely need to order…

On to the post, an introduction to making sauerkraut:
My wife and I live, for the most part, off of what we grow ourselves. So in the wintertime, when the gardens are reluctant to offer much of anything beyond mud, we long for something fresh. And where the chick-weed salads we forage don’t suffice, kraut (and kimchi) help to fill the void of fresh food.
Sauerkraut is a very old form of preserving cabbage by encouraging certain beneficial bacteria (lactobacilli) to acidify the cabbage, thus creating an environment ideal for preservation and for keeping the food safe from harmful bacteria. Sauerkraut has long been hailed for its help in the digestive process, as well as the flavor it adds to food. In fact, as far as health goes—as I note in my book Bringing Wine Home—Captain James Cook famously cured scurvy by taking barrels of sauerkraut with him on long voyages. Scurvy was a devastating disease sailors were suffering from due to the lack of fresh food (and specifically vitamin C), especially when at sea for months at a time. Sauerkraut, high in vitamin C among other beneficial nutrients like lactic acid, helped prevent scurvy and keep Cook’s crew healthy. Deep in the wintertime, this is the story I keep in mind: we don’t just want some kraut, we need some!
What you need to make one quart of kraut:
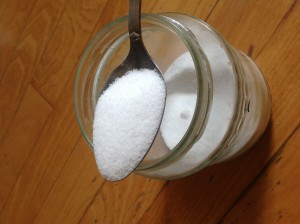
2-3 T of Sea Salt (I don’t prefer iodized salt, sea or “real” salt has more minerals)
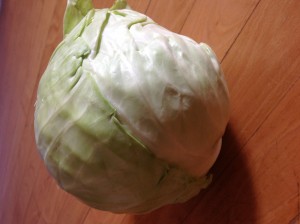
2 small non-sprayed Cabbage (red or yellow—or one of each if you like pink kraut!)
1 one-quart mason jar
Optional:
Hot peppers, garlic, cardamom seed, juniper berries, clove, peppercorns, carrots, curry, radishes, or just about any other herb, spice or vegetable you like, or would like to keep around a bit longer.
The recipe I’m giving you is for one quart, though if you know you like kraut and would like to preserve more of it, feel free to multiply this recipe by how much ever you want, and ferment in a crock or non-reactive container.
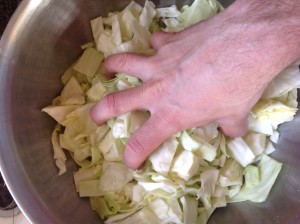
1.) Chop or shred the cabbage and optional veggies (sans hot peppers—add chopped hot peppers when packing) into thin strips. Place in a large, non-reactive mixing bowl and sprinkle one tablespoon of salt.

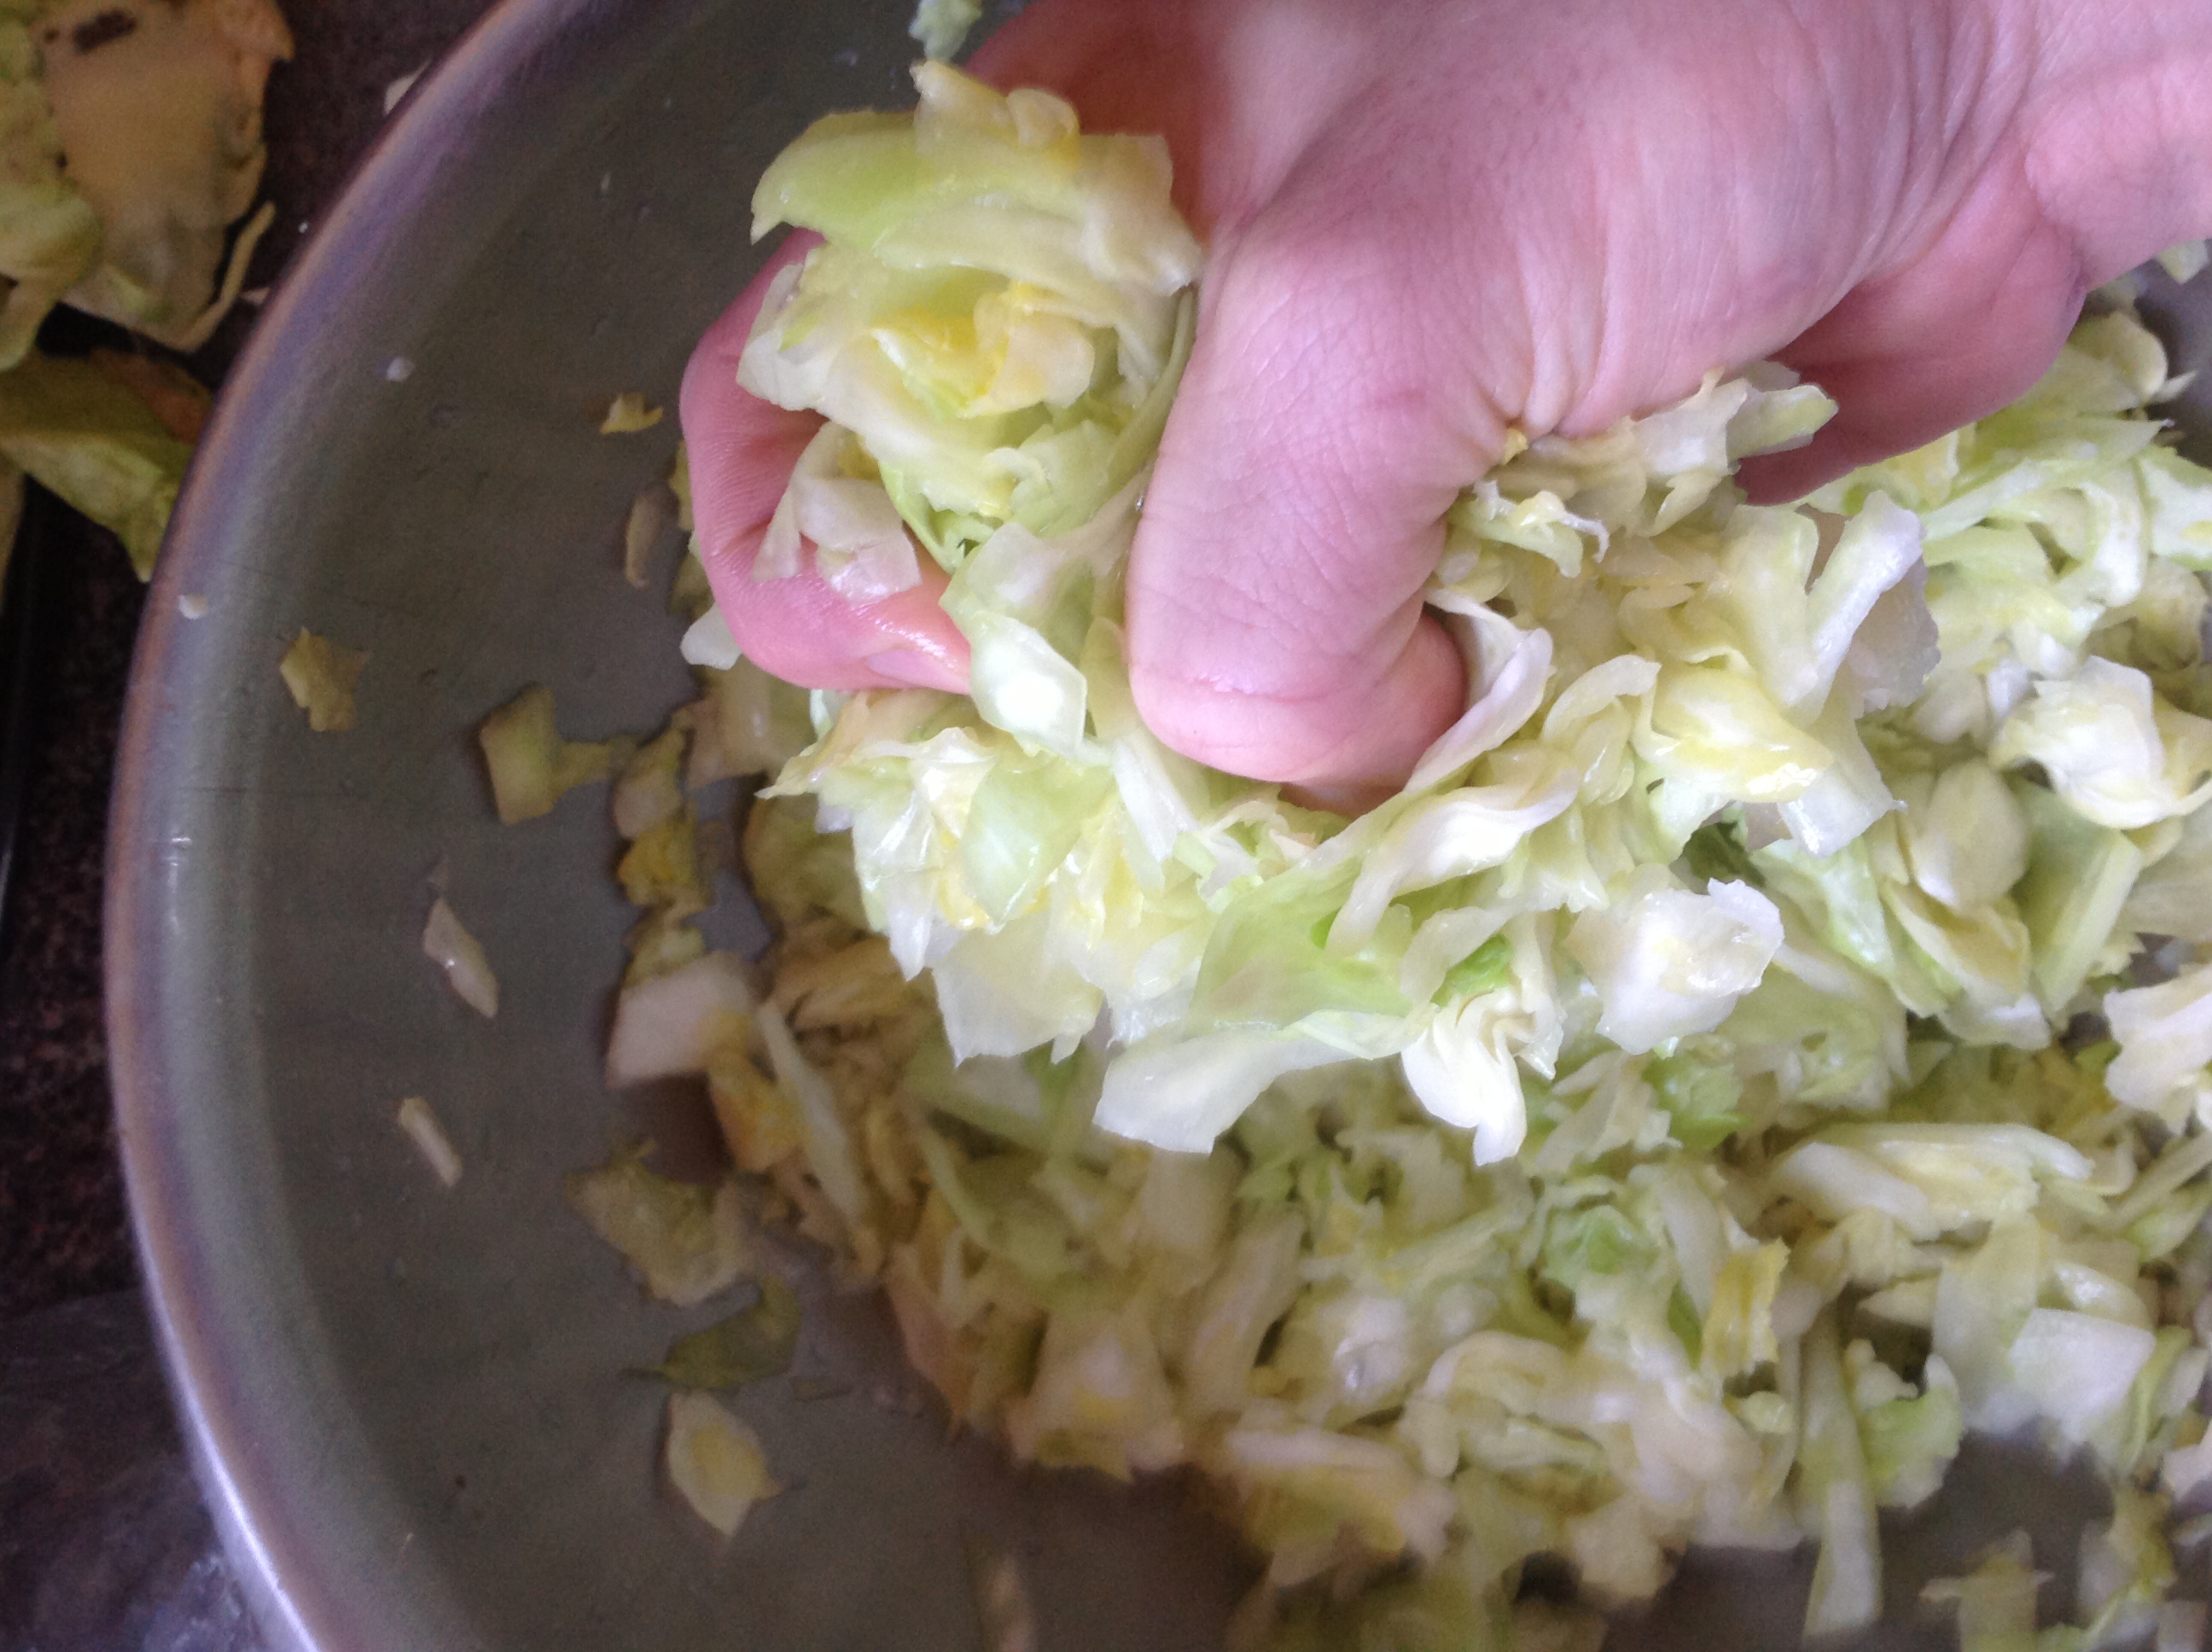
2.) Massage the cabbage with your hands or a potato masher. I prefer using my hands, but it can be a bit of a workout either way—enlist some help if needed! After one or two minutes, add a second (or third if you don’t mind it salty) tablespoon of salt and continue massaging. The goal here is to release the juices within the cabbage, so it might take a few minutes to break down the cell walls and gain the amount of liquid you’re after.
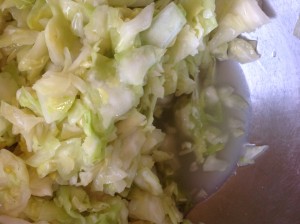
3.) Massage until thoroughly wet and until a pool of liquid has formed at the bottom. (NOTE: you can also soak the cabbage over night in a salt brine of 2 quarts of water to 4 tablespoons of salt to avoid massaging, though I personally prefer the massaged kraut).
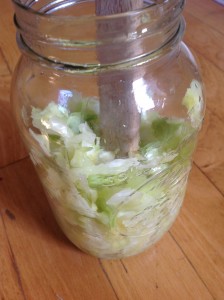
4.) Pack the cabbage with a wooden spoon into your quart jar one handful at a time (if you’re adding hot peppers, add them here overtop of each layer to avoid getting it all over your hands). The juices should overtake the cabbage—that’s what you’re going for. Pack tightly but stop packing the jar once the liquid comes within one inch of the top, and the cabbage within an inch and half (if you have to pour out some juice, that’s fine).
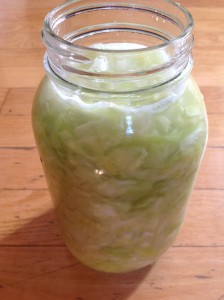
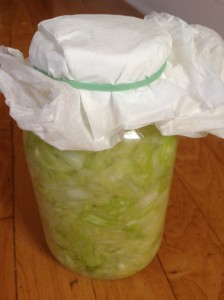
5.) Place a small bag of water or a small piece of plastic overtop of the cabbage to keep the solids submerged. Tie a cloth or napkin overtop and set on a saucer or small plate (to catch any spillover), and leave on a counter (if you are afraid of the smell, I recommend you locate this countertop in your garage or outside under cover!). After one week, checking often for mold or yeast blooms (which rarely occur in kraut especially if the cabbage is submerged well), place a plastic lid on top of the jar or a metal lid with a thin piece of paper bag separating the lid from the kraut (as it will taint the flavor). Leave it on your counter for a few more days, letting the gas out occasionally, then store in a cool place or fridge. You can taste often throughout the process. If it gets to a point you really like before seven days, just pop it in the fridge which will more or less stop the fermentation thus souring. Seven days will indeed render a rather “sauer” sauerkraut.
In a cool place, kraut can last for several months. And in the fridge, your finished kraut could easily last until fresh greens return, if not longer! If discoloration occurs (light browning on top) simply remove it and eat what’s underneath––it simply became oxidized.
Using Your Kraut
In America, kraut often makes us think of bratwurst, and indeed kraut does really well with fattier meats and dishes. I enjoy stirring some into soups or having it with butter and sweet potatoes. Making fresh salsa? Add a couple tablespoons of finely chopped sauerkraut. Kraut can also be sweetened up with honey (or sweet wine) and heated as a sort of after dinner digestif and treat. Can’t find anything to put it on? Just eat a spoonful every day for digestion!
As always, if you have any questions or anything to add, please don’t hesitate to comment. We always love to hear your recipes and thoughts! You can also reach me at roughdraftfarmstead@gmail.com or comment below.
Happy Fermenting!